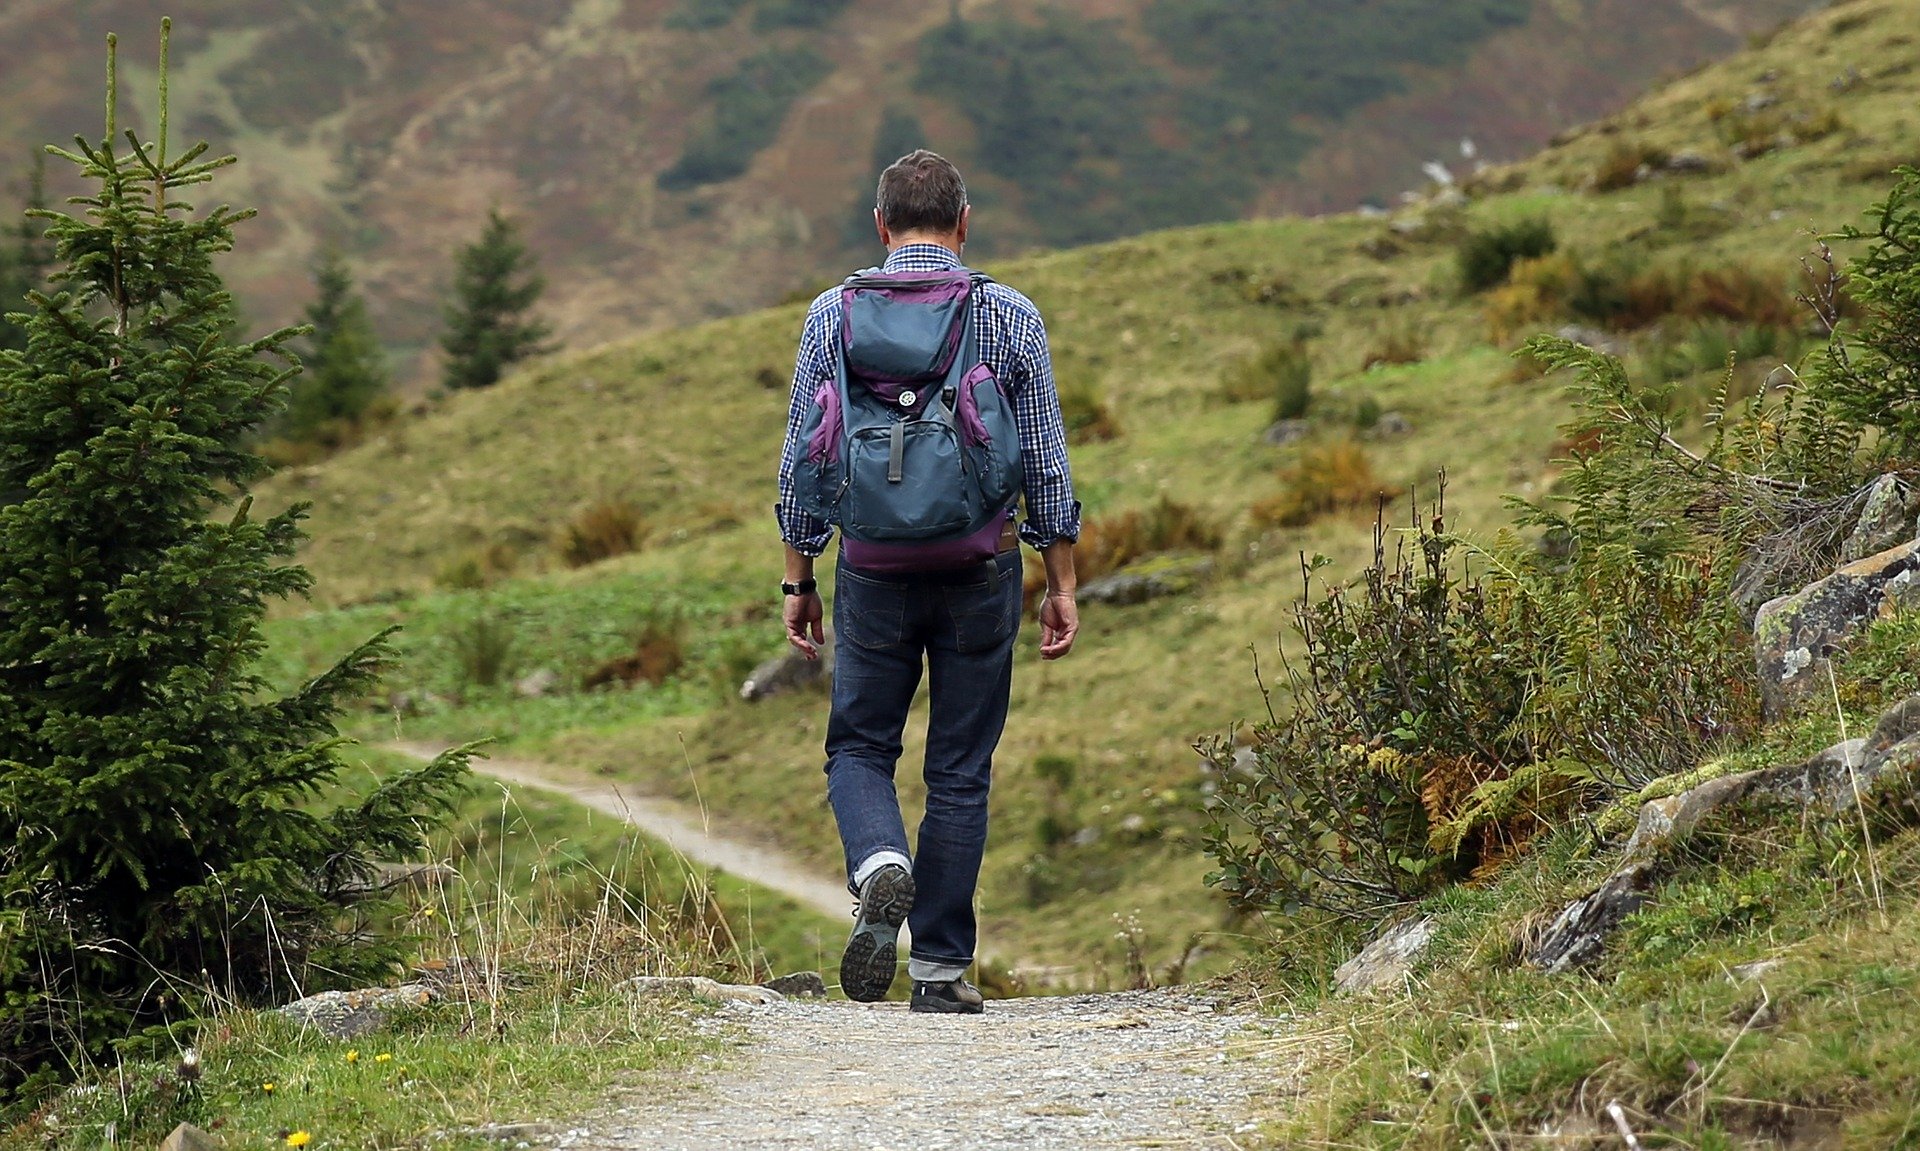
That moment when you lace up a brand new pair of shoes and they feel just slightly too stiff, too tight around the heel, or a little rough along the pinky toe. You know what comes next if you just power through: blisters, hot spots, and a week of limping. But there are actual techniques that work to soften shoes up without destroying your feet in the process.
I have broken in everything from leather dress shoes to stiff hiking boots, and the approach changes depending on the material.
Here is what actually works and what is a waste of time.
Why New Shoes Cause Blisters in the First Place
Blisters form from friction combined with moisture. A new shoe has not conformed to your foot shape yet, so certain areas rub more than they will after the shoe loosens up. The heel is the most common problem area because the heel counter (the stiff cup at the back of the shoe) needs time to flex and mold to your heel bone.
The material matters too.
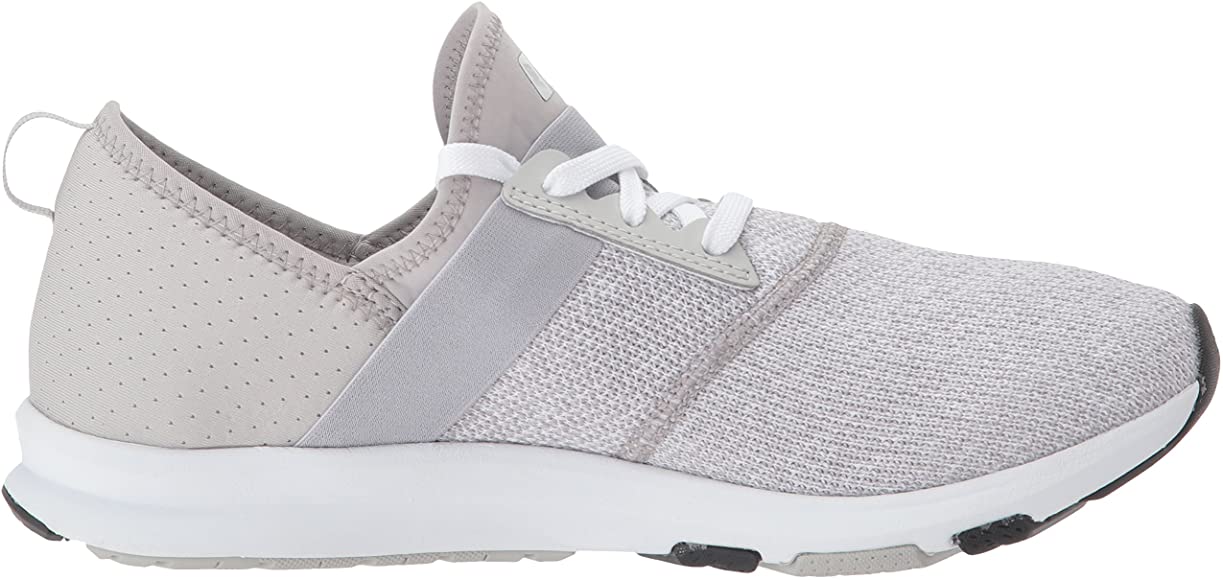
Full-grain leather is stiff initially but molds beautifully over time. Synthetic materials are more forgiving out of the box but never truly break in the way leather does. Knit and mesh uppers rarely need a break-in period at all.
The Gradual Wear Method (Works for Everything)
This is the simplest and most reliable approach. Wear your new shoes for short periods at home before taking them out for a full day.
- Day 1 and 2: Wear them around the house for 30 minutes.
Walk on carpet if possible, which is gentler on the soles and lets you return the shoes if they are fundamentally the wrong fit.
- Day 3 and 4: Extend to 60 to 90 minutes. Walk on harder surfaces. Pay attention to any hot spots forming.
- Day 5 through 7: Wear them for a couple of hours on an easy outing. A grocery run or a walk around the neighborhood, not an eight-hour shift or a five-mile hike.
- Week 2: Start wearing them for longer stretches.
By now the shoe should have started conforming to your foot.
This method takes patience, but it works for every type of shoe and virtually eliminates blisters.
Tricks for Leather Shoes and Boots
Leather is the material that benefits most from deliberate break-in techniques because it responds to heat and moisture.
The thick sock method: Put on a pair of heavy wool hiking socks (Darn Tough or Smartwool work well), then put on your leather shoes. The extra bulk stretches the leather gently while the thick material protects your feet from friction. Walk around your home for 20 to 30 minutes.
Do this for a few days and the leather will start to give.
Leather conditioner: Apply a thin layer of leather conditioner like Bickmore Bick 4 ($10 for an 8 oz bottle) or Lexol ($9) to the outside of the shoe, focusing on the heel counter, toe box, and any pressure points. The conditioner softens the fibers and makes them more pliable. Do not soak the leather. A light coat is enough.
Let it absorb for 15 minutes, then wear the shoes with normal socks.
Shoe stretcher: A two-way shoe stretcher ($15 to $25 on Amazon) physically widens the shoe overnight. Insert it after applying conditioner for the best results. This is especially useful for shoes that are slightly too narrow but otherwise fit well.
What About the Blow Dryer Trick?
You have probably seen this advice: put on thick socks, blast your shoes with a hair dryer for 30 seconds, then walk around while they cool.
It does work on leather because heat makes the fibers more flexible. But there are risks. Too much heat can dry out and crack the leather, warp adhesive bonds on cemented construction shoes, or damage dye and finish. If you try it, use a low heat setting, keep the dryer moving, and do not heat any one spot for more than a few seconds. Honestly, the conditioner method is safer and just as effective.
Blister Prevention While Breaking In
Even with gradual wear, some shoes will cause friction in specific spots.
Here is how to protect your feet during the break-in period:
- Moleskin patches: Cut a piece of moleskin (Dr. Scholl's sells a pack for about $6) and stick it inside the shoe where it rubs. The felt surface reduces friction dramatically.
- Body Glide or petroleum jelly: Apply a thin layer to blister-prone areas on your feet before putting on socks.
This reduces friction between skin and fabric. Body Glide ($8 to $10) is cleaner than petroleum jelly and does not stain socks.
- Moisture-wicking socks: Cotton socks trap sweat and increase friction. Merino wool or synthetic blend socks keep your feet drier. Darn Tough Light Hiker socks ($22) are a good all-around choice.
- Heel grip pads: If the heel slips, stick adhesive heel grip pads ($6 to $8 for a pack of four) inside the heel counter.
They add a slight cushion and prevent the up-and-down rubbing that causes heel blisters.
When a Shoe Just Does Not Fit
Breaking in a shoe should reduce minor stiffness and tightness. It will not fix a shoe that is fundamentally the wrong shape for your foot. If you feel pinching across the ball of your foot, numbness in your toes, or pain in your arch after the first few wears, the shoe probably does not match your foot anatomy.
No amount of stretching will fix a last shape that does not work for you.
Most retailers offer a 30 to 60 day return window, and some running specialty stores give you even longer. Wear new shoes on clean indoor surfaces first so you can return them if needed. Once you take them outside and scuff the soles, returns become harder.
Breaking in shoes is not complicated, but it does require a little patience. Give yourself a week or two of gradual wear, protect the friction points, and the shoes will start feeling like they were made for your feet.